Detection modes


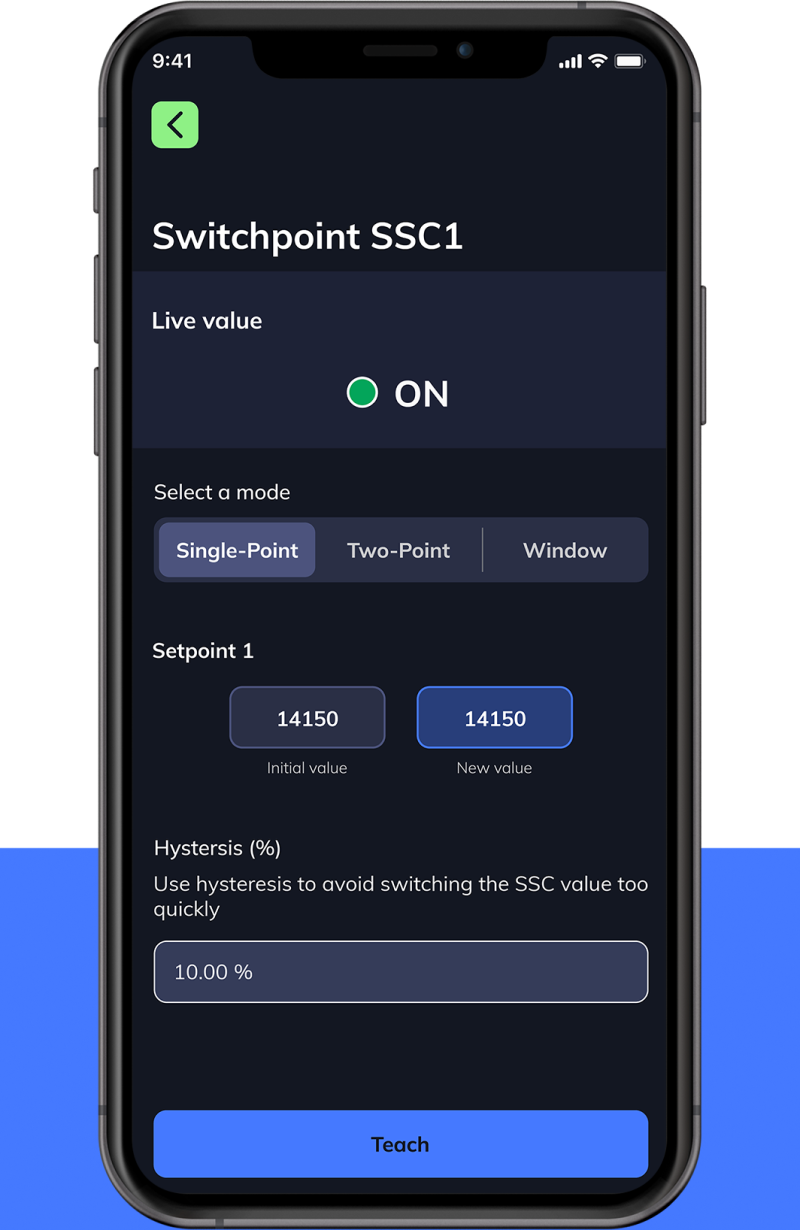
Manual configuration:
Select the desired switching mode – Single-Point, Two-Point or Window.
Enter the desired setpoint value(s) and level of hysteresis. Alternatively tap ‘Teach’ to configure the setpoint(s).
With Single-Point Mode selected, Smart Sensors behave as conventional two-state devices. The default logic (which may be inverted if the application requires it) sets the switching signal to “high” (SSC ON), if a threshold level or setpoint (target sensing distance, for example) has been reached. Either side of the switching point, the signal simply switches between “high” and “low” accordingly.

Two-Point (hysteresis) Mode showcases the Smart Sensor’s ability to respond to setpoints or threshold values that trigger a change in the SSC only when the measured value is moving in a specified direction (rising or falling). In the example shown, as the measured value falls and passes SP1, the SSC remains set to “low” (SSC OFF). Only when the measured value reaches SP2 is the SSC set to “high”. As the measured value rises again, passing SP2 has no effect on the SSC, which is only set to “low” once the measured value reaches SP1 again.
Window Mode allows designers to monitor a range of values, which may be defined by two discrete switching setpoints. As the example shows, the default logic sets the switching signal to “high” (SSC ON) if the measured value lies between the two setpoints. In all other cases, once the measured value moves outside the defined range, the switching signal is set to “low”.